
CM3 LCD Digital Microscope
Driver for Cainda LCD Digital Microscope CM3
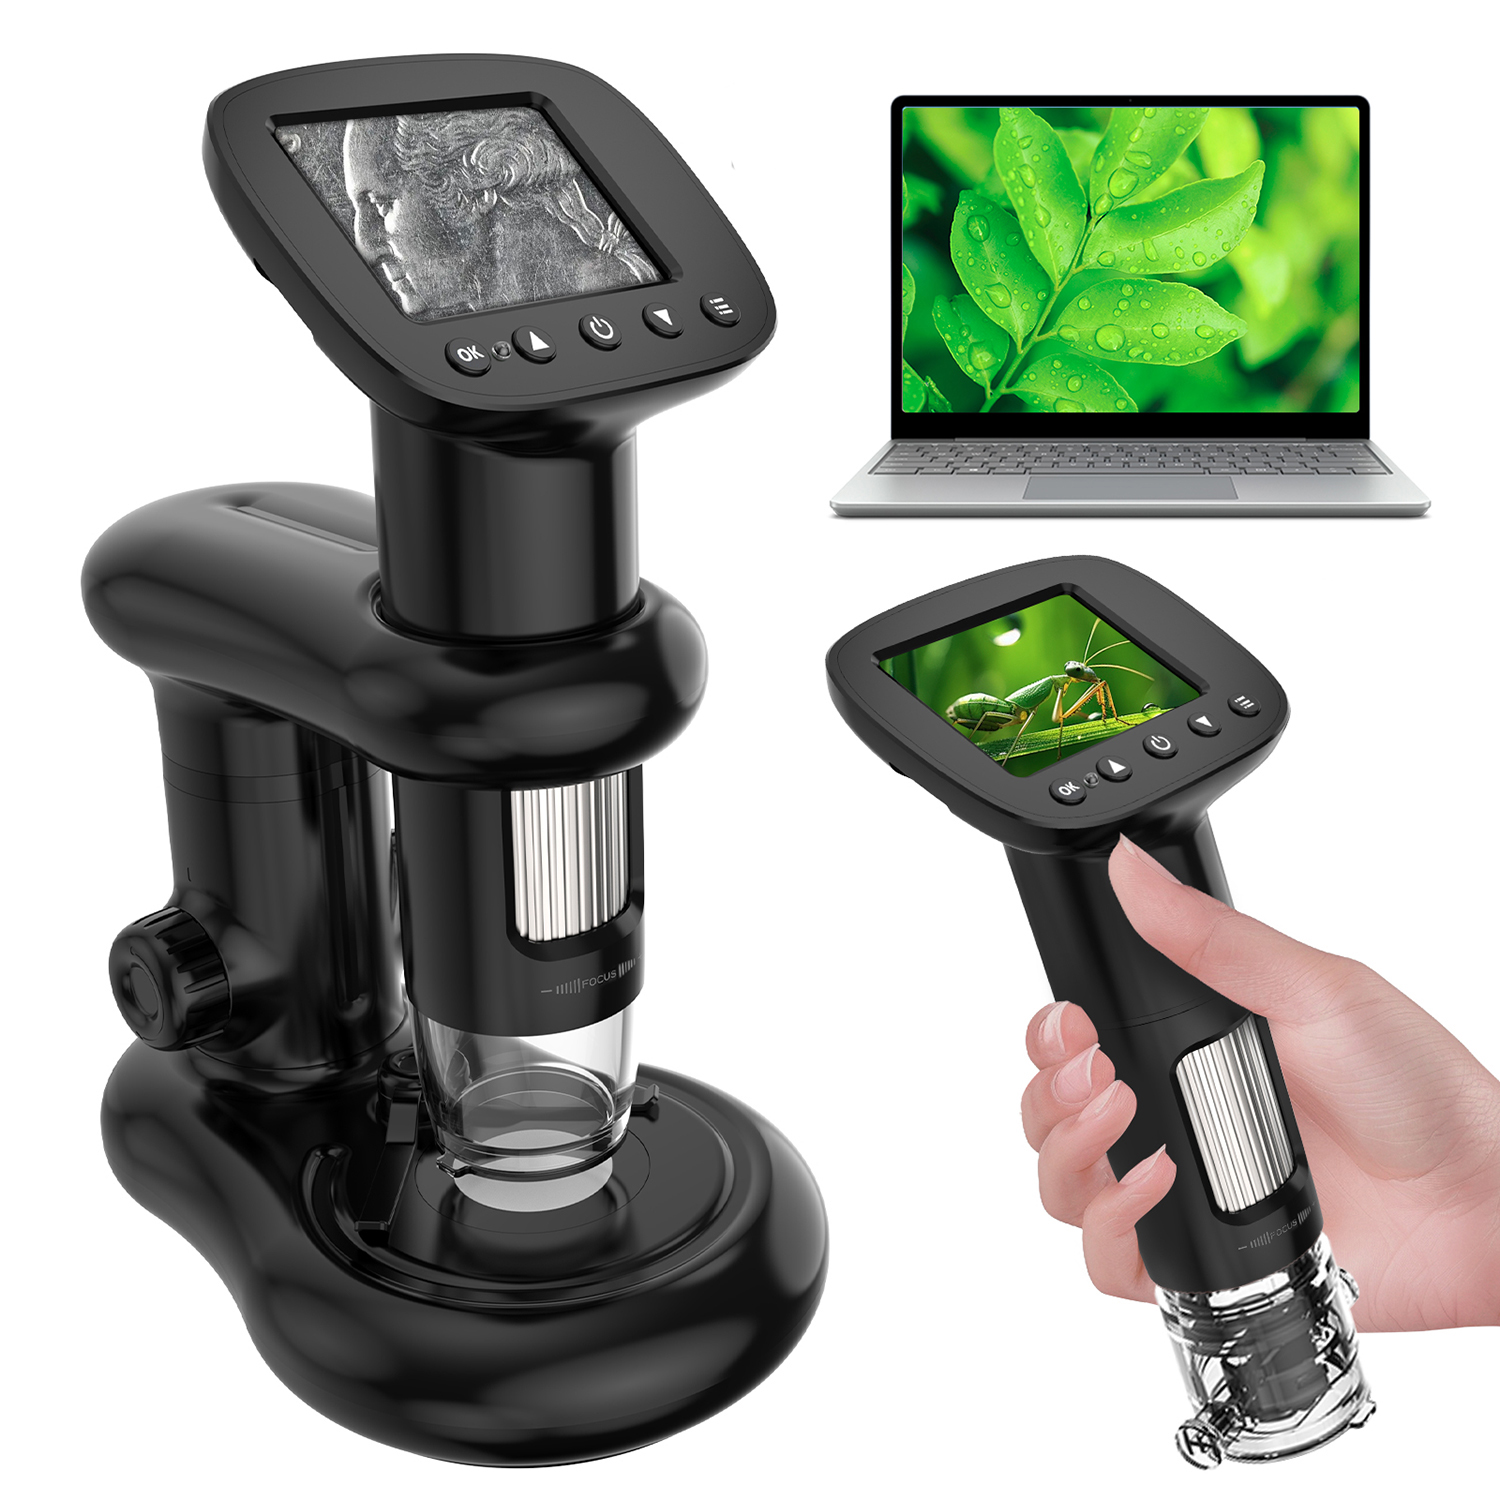
This microscope can display images directly through the built-in screen, or can be connected to a PC to show images in the camera software. (Cannot display simultaneously.)
Part One: Work through the built-in screen
1. Before Using
Bofore using the microscope, please insert the TF card into the microscope to ensure better storage of Photo/Video files. (Support maximum 32G memory card.)
2. Turn the Device on/off
Press and hold the Power Button to turn the microscope on or off; press the Power Button briefly to adjust the brightness of the microscope's LED light.
3. Switch Mode
Press and hold the Memu Button to switch mode (Photo mode / Video mode / Playback mode). Press the Memu Button briefly to enter the memu interface and setting interface under the Photo / Video / Playback mode.
4. Take Photos/Videos
Under the Photo / Video / Playback mode, press the OK Button briefly to take a photo / start or finish the video recording / re-play the recorded videos.
If you have any trouble while using, please email us for assistance: cainda-seller@outlook.com
Windows PC Download Path:xploview.exe(3.87MB) | Windows XP, Vista, 7, 8, 10, 11 | 32/64 bit
Mac PC Download Path:xploview_v3.3.310.pkg(9.73MB)
Win10/11 user can directly use the windows built-in camera software; Mac user can directly use the "Photo Booth" software.
Note: Win10/11and Mac users please set up the privacy setting to let apps access the camera if it can't get the image on software.
Step 2: Install the "xploview"
(E.g install the "xploview" on windows)
Double click the "xploview.exe" and follow the steps below: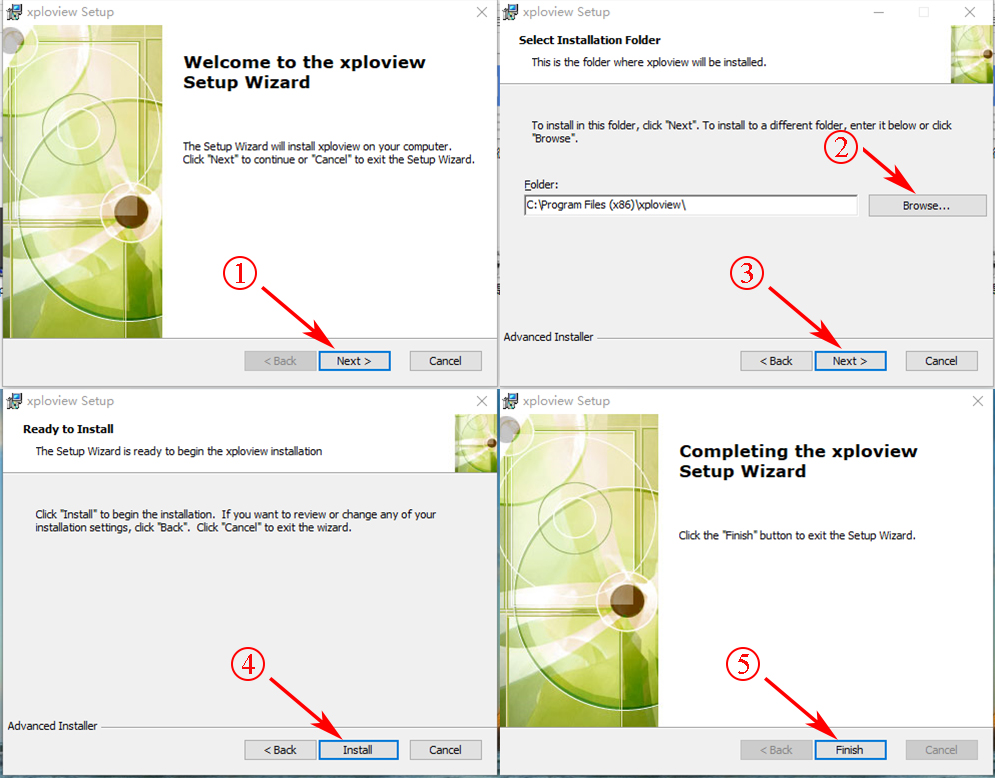
Step 3: Connect the microscope to your computer
Use the Type-C cable to connect your microscope with your PC.
Note:
1. The Type-C data cable must support data transfer. Cables without data transfer functionality can only be used for charging.
2. If the device shows no response after connection, please try reconnecting it, replacing the data cable, or switching to a different USB port.
Step 4: Turn on your microscope
Press and hold the Power Button to turn the microscope on. A window would pop up on the screen. Select "PC Camera" mode.
Under PC camera Mode, the microscope will function as an external camera device for the PC. Real-time image signals will be transmitted to the PC. Images will be displayed via the camera software.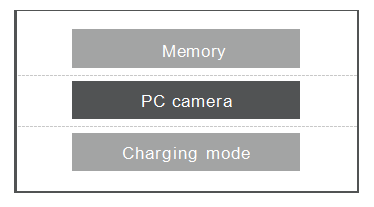 Note:
Note:
Memory Mode: Access the microscope memory from the computer to view and process the picture and video files in the TF card.
Charging Mode: Charge your microscope via the PC. You can use it via the built-in screen under Charging Mode.
Step 5: Open the software
Open the xploview software or the built-in camera software on Windows/Mac PC. Select the correct device name "USB CAMERA" from the device list, and you will see the image. You can take pictures/videos through the software.
If you can't see the image or find the device name, please open the "Device Manager" to check if your PC has recognized the microscope correctly.
If you need any help, please email us: cainda-seller@outlook.com
USB Function Description
When the device is on and connected to the PC via a USB cable, there are 3 modes of Memory / PC camera / Charging mode available to the user.
1) Memory Mode: Access the microscope memory from the computer to view and process the picture and video files in the TF card. At this time, the microscope can only use the Power button.
2) PC Camera Mode: After selecting this mode, you can obtain a larger multiple image through the computer camera software. At this time, only the Power button and Focus wheel can be used.
3) Charging Mode:Charge your microscope via the computer. Note:You can use it while charging. When you select the Charging mode,the device will enter the working interface, and you can use it directly. If not needed, you can turn it off.
Bofore using the microscope, please insert the TF card into the microscope to ensure better storage of Photo/Video files. (Support maximum 32G memory card.)
2. Turn the Device on/off
Press and hold the Power Button to turn the microscope on or off; press the Power Button briefly to adjust the brightness of the microscope's LED light.
3. Switch Mode
Press and hold the Memu Button to switch mode (Photo mode / Video mode / Playback mode). Press the Memu Button briefly to enter the memu interface and setting interface under the Photo / Video / Playback mode.
4. Take Photos/Videos
Under the Photo / Video / Playback mode, press the OK Button briefly to take a photo / start or finish the video recording / re-play the recorded videos.
If you have any trouble while using, please email us for assistance: cainda-seller@outlook.com
Part Two: Work with the PC
Step 1: App DownloadWindows PC Download Path:xploview.exe(3.87MB) | Windows XP, Vista, 7, 8, 10, 11 | 32/64 bit
Mac PC Download Path:xploview_v3.3.310.pkg(9.73MB)
Win10/11 user can directly use the windows built-in camera software; Mac user can directly use the "Photo Booth" software.
Note: Win10/11and Mac users please set up the privacy setting to let apps access the camera if it can't get the image on software.
Step 2: Install the "xploview"
(E.g install the "xploview" on windows)
Double click the "xploview.exe" and follow the steps below:
Step 3: Connect the microscope to your computer
Use the Type-C cable to connect your microscope with your PC.
Note:
1. The Type-C data cable must support data transfer. Cables without data transfer functionality can only be used for charging.
2. If the device shows no response after connection, please try reconnecting it, replacing the data cable, or switching to a different USB port.
Step 4: Turn on your microscope
Press and hold the Power Button to turn the microscope on. A window would pop up on the screen. Select "PC Camera" mode.
Under PC camera Mode, the microscope will function as an external camera device for the PC. Real-time image signals will be transmitted to the PC. Images will be displayed via the camera software.
Memory Mode: Access the microscope memory from the computer to view and process the picture and video files in the TF card.
Charging Mode: Charge your microscope via the PC. You can use it via the built-in screen under Charging Mode.
Step 5: Open the software
Open the xploview software or the built-in camera software on Windows/Mac PC. Select the correct device name "USB CAMERA" from the device list, and you will see the image. You can take pictures/videos through the software.
If you can't see the image or find the device name, please open the "Device Manager" to check if your PC has recognized the microscope correctly.
If you need any help, please email us: cainda-seller@outlook.com
USB Function Description
When the device is on and connected to the PC via a USB cable, there are 3 modes of Memory / PC camera / Charging mode available to the user.
1) Memory Mode: Access the microscope memory from the computer to view and process the picture and video files in the TF card. At this time, the microscope can only use the Power button.
2) PC Camera Mode: After selecting this mode, you can obtain a larger multiple image through the computer camera software. At this time, only the Power button and Focus wheel can be used.
3) Charging Mode:Charge your microscope via the computer. Note:You can use it while charging. When you select the Charging mode,the device will enter the working interface, and you can use it directly. If not needed, you can turn it off.